Kansai International Airport (KIX), Terminal 1 is your point of entry if you fly into Osaka from overseas. Terminal 2 currently serves only two airlines, Peach Aviation and Spring Airlines. The airport operates 24 hours a day, and services both international and domestic airlines. There are two two ‘International Airports’ in the Kansai region of Japan. However, Osaka International Airport Itami, north of the city, is actually a domestic airport despite its name.
We look at the airport in two areas – Landside (outside the security areas) and Airside (Inside the security areas – Immigration, Customs etc).
Kansai International Airport – Landside
While we didn’t seriously consider renting a car, we did discover that most international hire car companies are represented in Japan. If you decide on this option, you must ensure that you have an International Driving Permit to drive in Japan. Get this in your home country before you leave. It is also important to note that parking within the city is extremely limited and quite expensive. Your accommodation may or may not have parking available.
Getting to and fro
Kansai International Airport is located on a purpose built island about 50km south of Osaka. It is easily accessible by road, railway and high-speed ferry. The airport website has up to date information on the various options, including hire cars and various bus train and ferry options.
Train
As we would be basing ourselves in Kyoto, we opted to travel there and back by train.
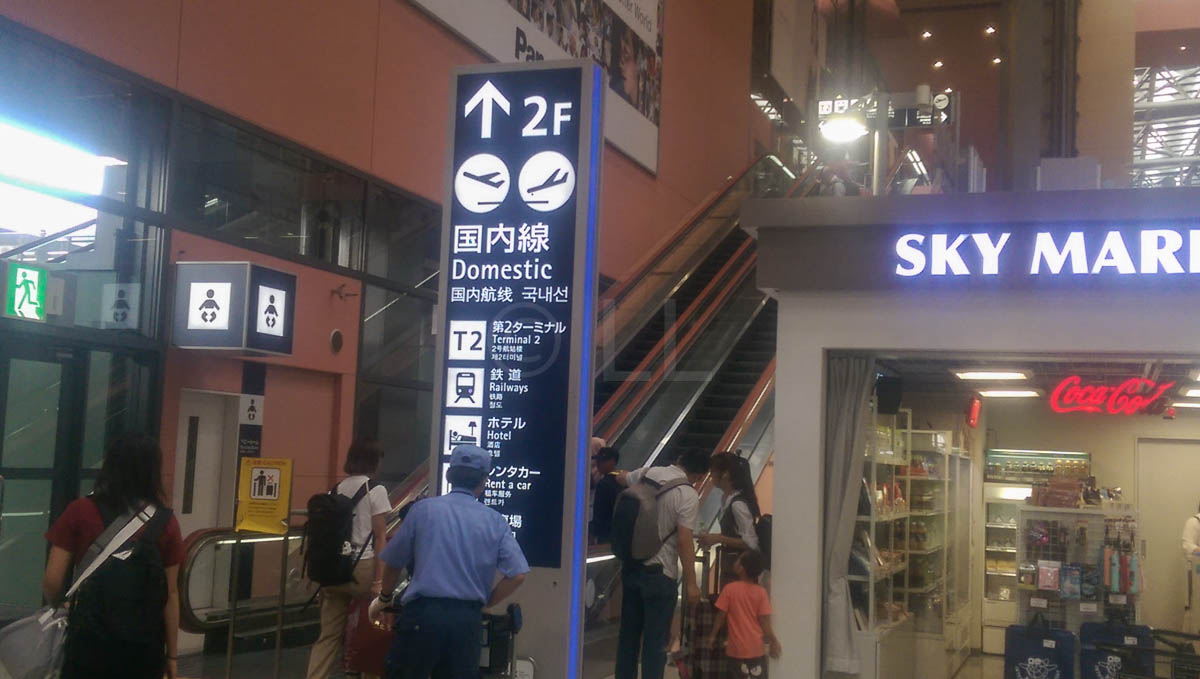
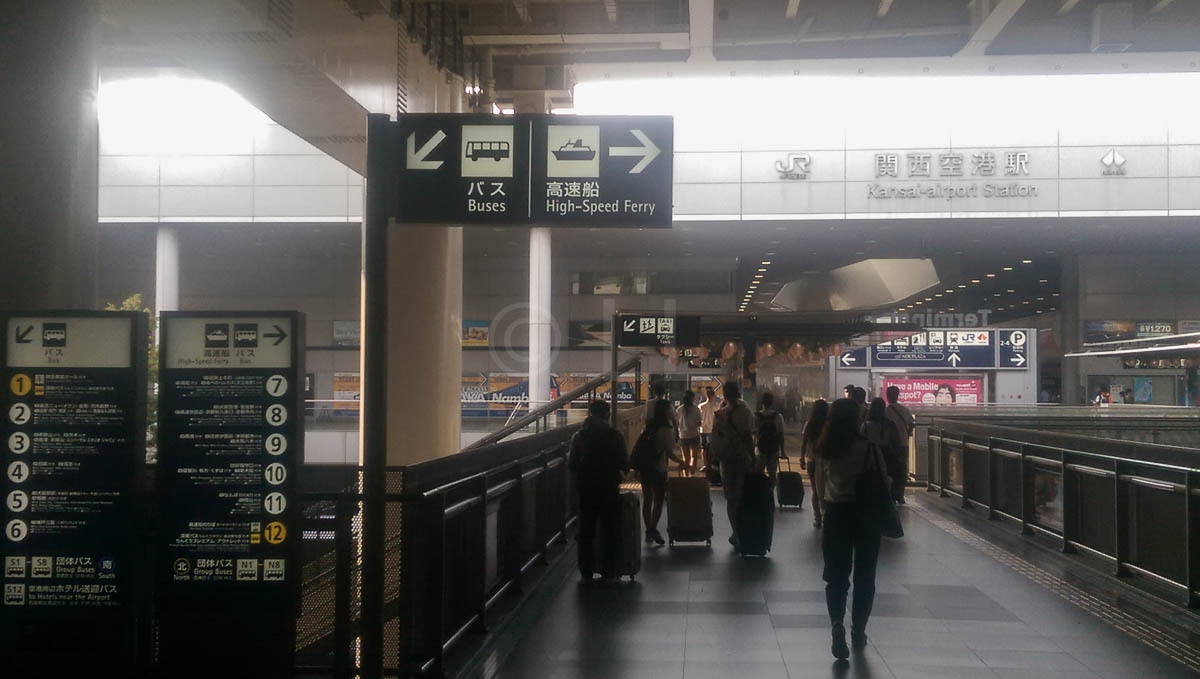
- The Airport Station is a short walk across a covered bridge on Level 2F.
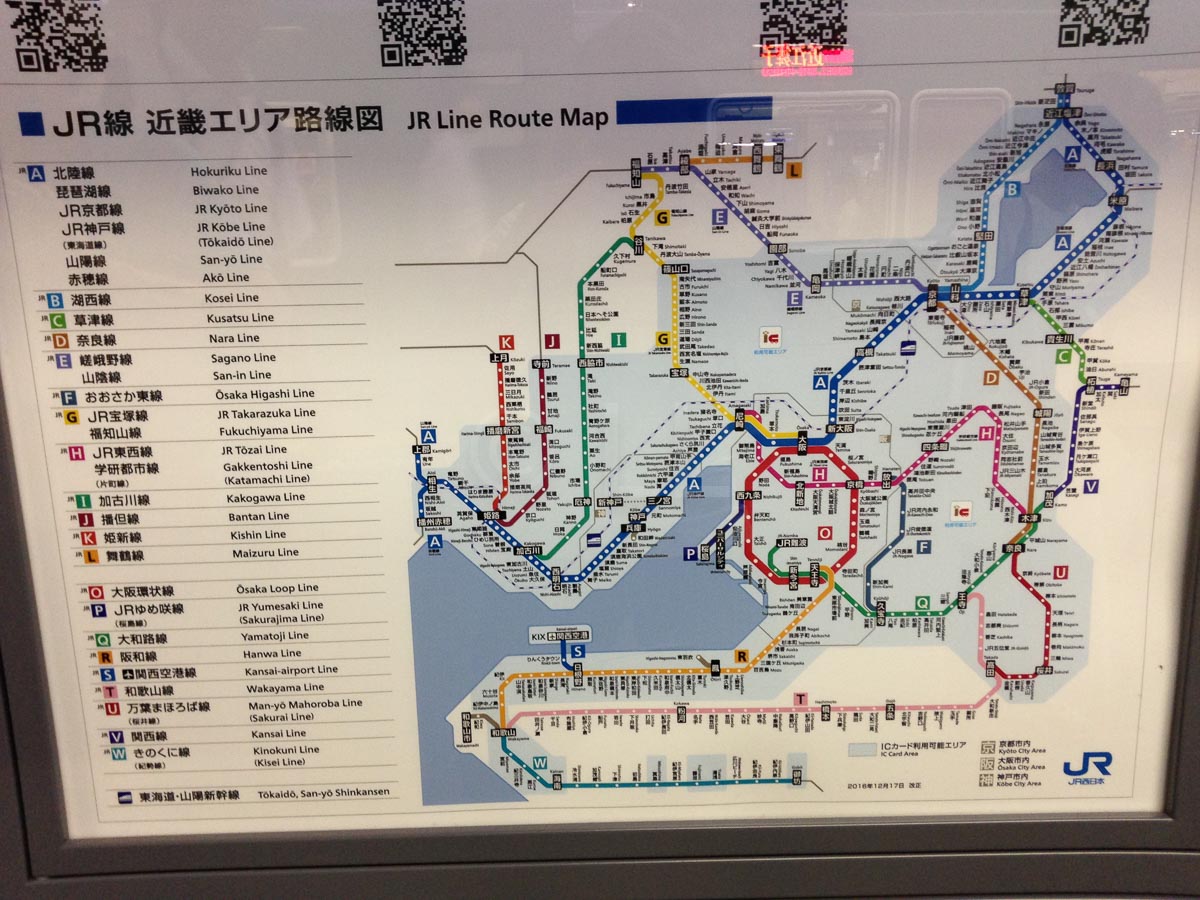
- There are a number of rail options, but we found Japan Railways (JR) the most suitable and cost effective for our needs.
Cost Effective :
If you choose this option,
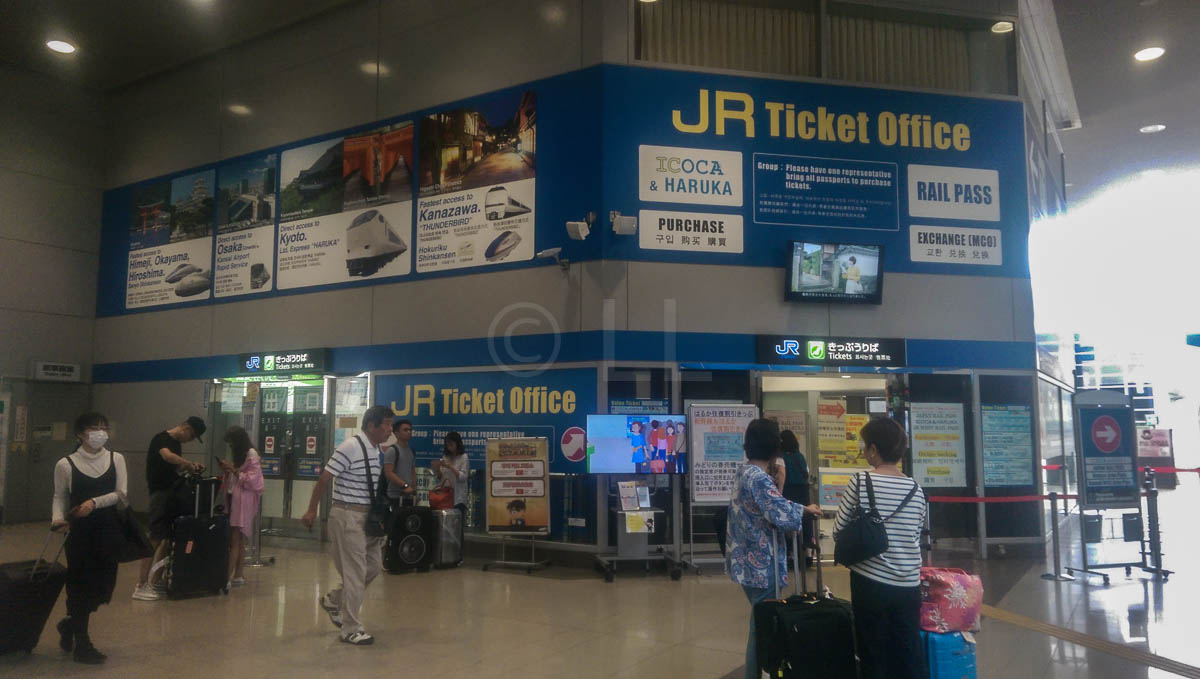
- First, purchase a stored value ICOCA card. (¥2,000, including ¥500 refundable deposit and ¥1500 to use – trains, buses etc)
- You must show your passport to purchase, it is only for holders of foreign passports.
- Return the card when you leave to claim a refund. They do keep ¥220 when you return the card, as handling fee. You get the balance of the deposit and stored value.
The ICOCA card allows you to:
-
- Purchase a return ticket for the Limited Express ‘Haruka’ operated by JR West for ¥3200 (valid for 14 days).
- This is a considerable saving on the walk-in price of ¥2,850 one way.
- The trains run every half hour between 5.30am and 8.30pm (6.30am and 10.16pm from Kansai). They stop at Tennoji and Shin-Osaka. The journey takes around 85 minutes.
- The ICOCA card’s stored value is available for use on certain trains, buses and Station lockers showing the ICOCA sign.


Bus and Ferry
You can purchase bus tickets at the Ticket windows at bus Stop 8 on the First Floor of Terminal 1. Tickets are sold on a first-come first-served basis and cannot be reserved in advance. The journey takes around 90 minutes, between Kansai and Kyoto.
- The fare between Kyoto Station and Kansai Airport is 2550 yen for adults and 1280 yen for children.
- The journey takes approximately 1 hour and 30 minutes.
- Buses leave Kansai between 6.20am and 23.55pm daily, and Kyoto between 4.30am and 21.40pm.
Ferries are possibly the quickest way to reach destinations across Osaka Bay like Kobe and Awaji (Sumoto).
- Tickets may be purchased from the High-Speed Ferry Ticket Counter on the 1st floor of the Terminal 1 Bldg.
- There is a shuttle bus (Bus Stop 12) to take you to the Ferry Terminal.
- You can purchase tickets between 6:00am – 00:15am year round, although the ferries only start running at 9am.
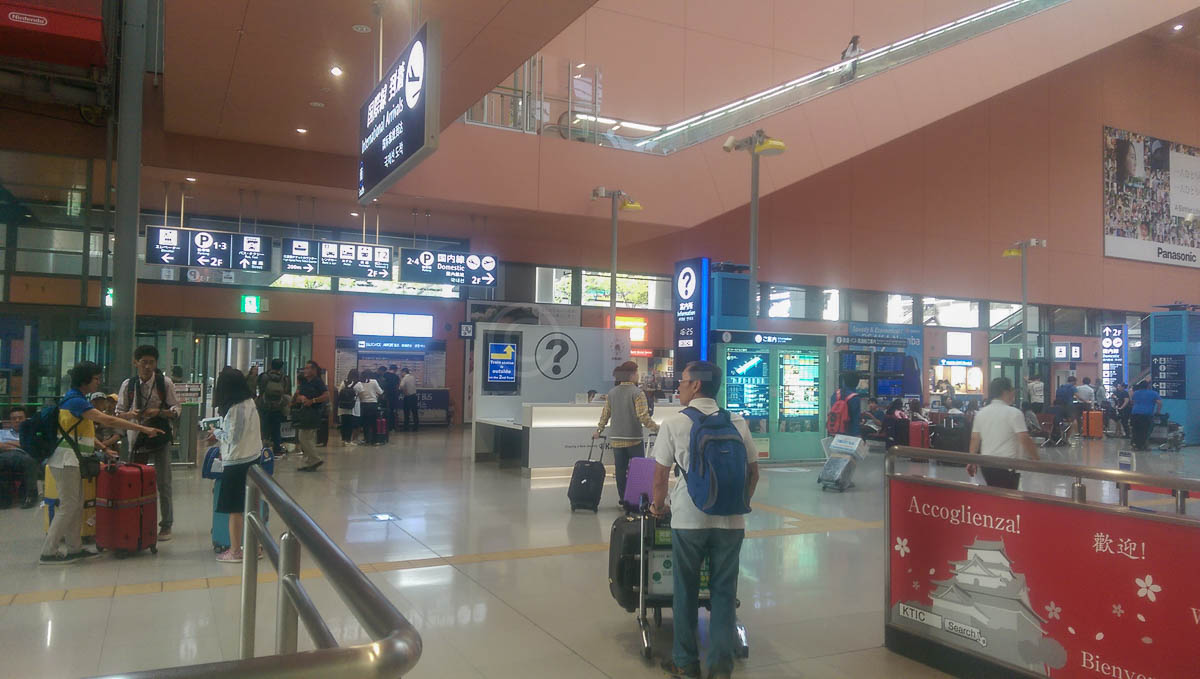
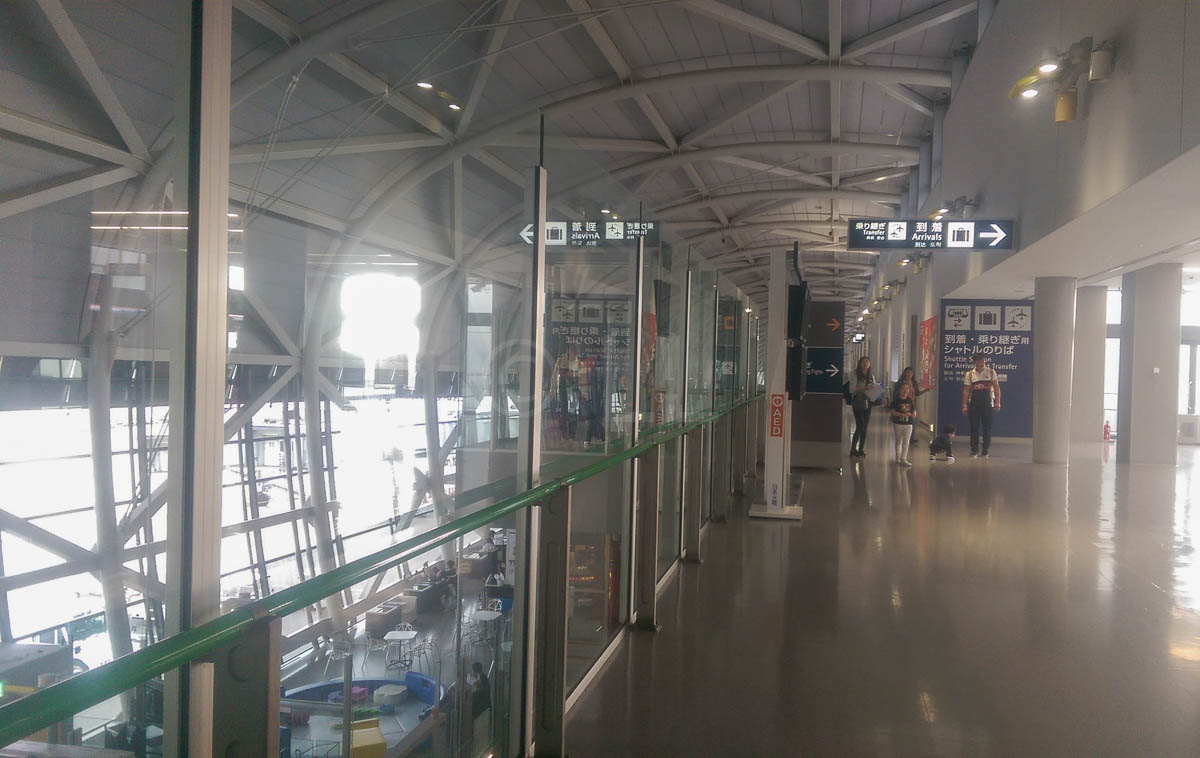
As you pass from the Arrival gate to your transport option, you’ll pass a number of Phone Card stands, directly opposite the doors. There is also at least one small mini market where you can purchase small items, beside the escalator.
Departure / Checking-in
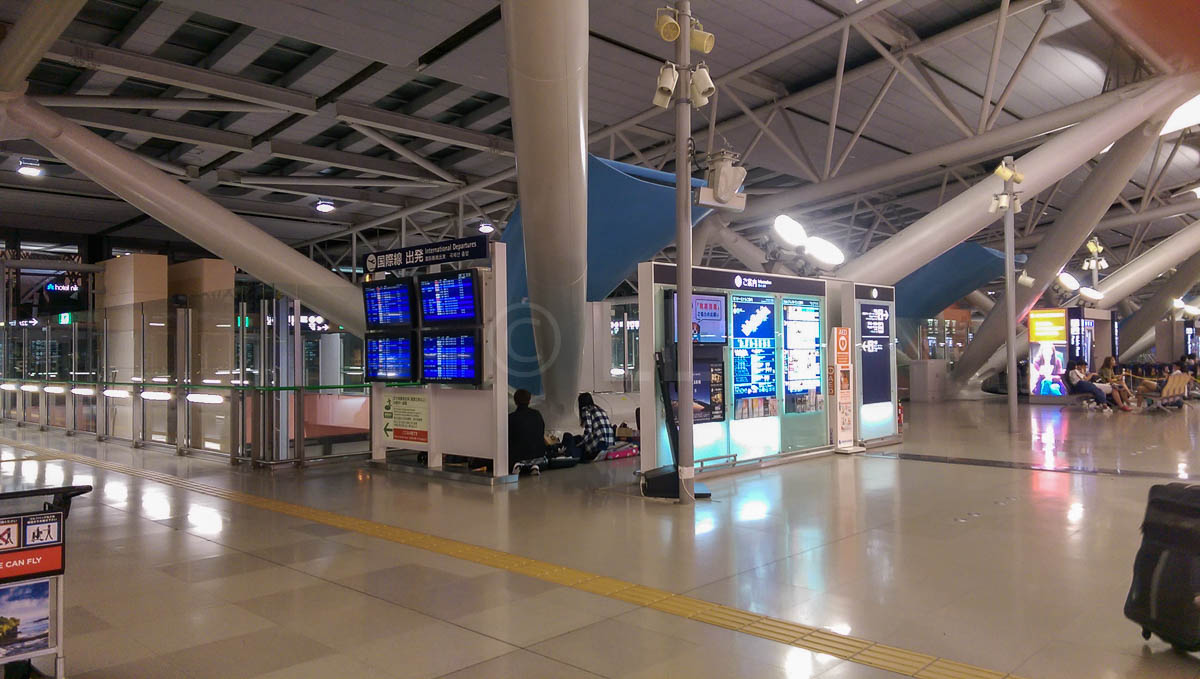
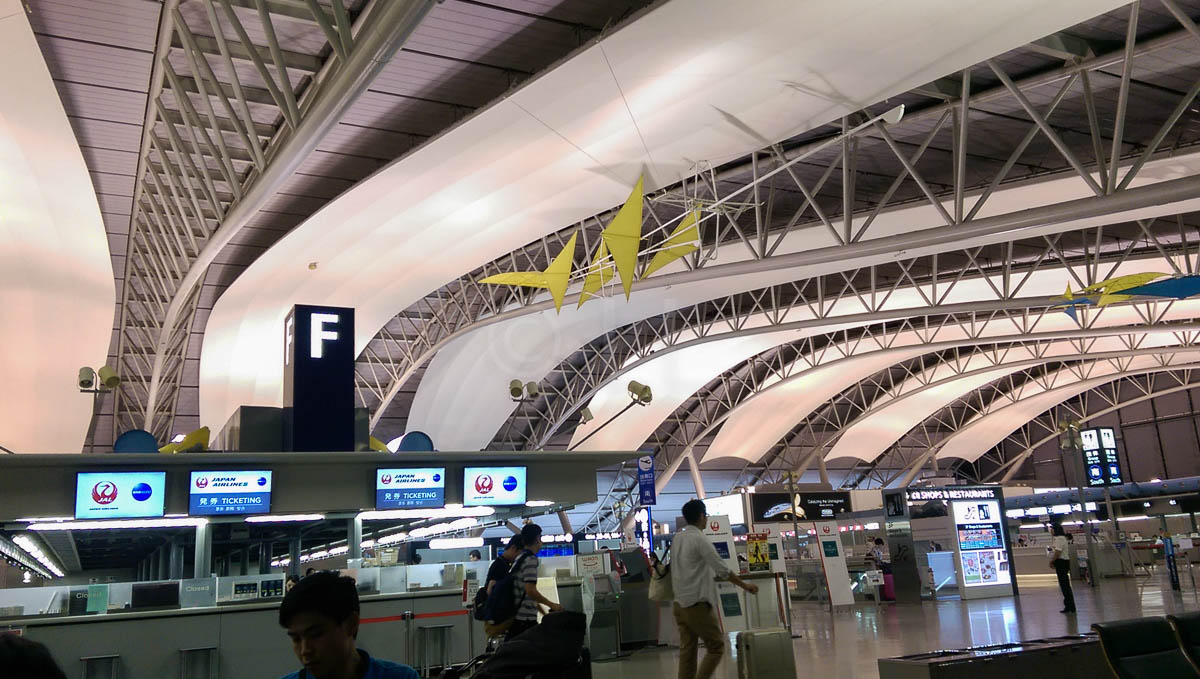
Once you arrive at the Departure Hall on Level 4F, there are plenty of screens to check for your check-in row and boarding gate and time. Security is not obvious and scanning of bags before check-in is not required. The airport information advises, however, that all checked luggage is scanned. As the scanning equipment may cause damage to high ISO film etc, you are advised not to pack these items in your checked baggage. Power banks and other spare lithium batteries should also be in your carry-on baggage.
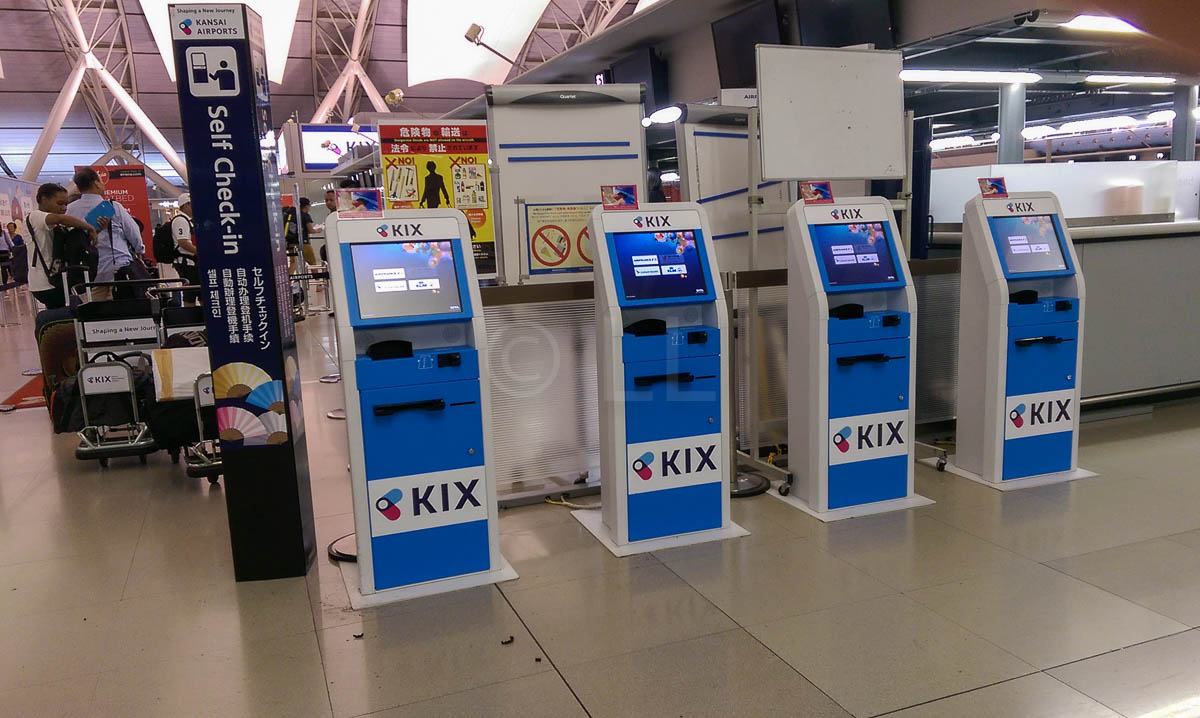
- You can queue at your airline counter, or use the self check-in kiosks located at the end of the Rows. If you have items that need to be verified for GST refunds, ask the counter staff for directions or advice.
- If you’ve already checked in online, you just need to drop your bag and go.
- Restaurants and other food outlets can be found on the lower level, accessed via an escalator, smoking is not allowed.
- You could sit and watch the mobile aeroplane mobiles hanging from the ceiling.
- Toilets (clean and not crowded) and currency exchange booths are located on the East side, opposite the entrance.
- Access to the Departure Lounge is clearly shown, along the same Eastern side of the Departure Hall. There are two Departure Gates – North and South, so check your boarding pass and the sign for the correct Gate to use.
- Tour Groups are dropped at either end of Level 4, according to their check-in Row. Passengers arriving by bus or taxi are dropped between Rows C and E.
Claiming your tax refund
Check with your counter staff regarding this. Once you enter the security area, there is a GST Counter available.
Other useful information
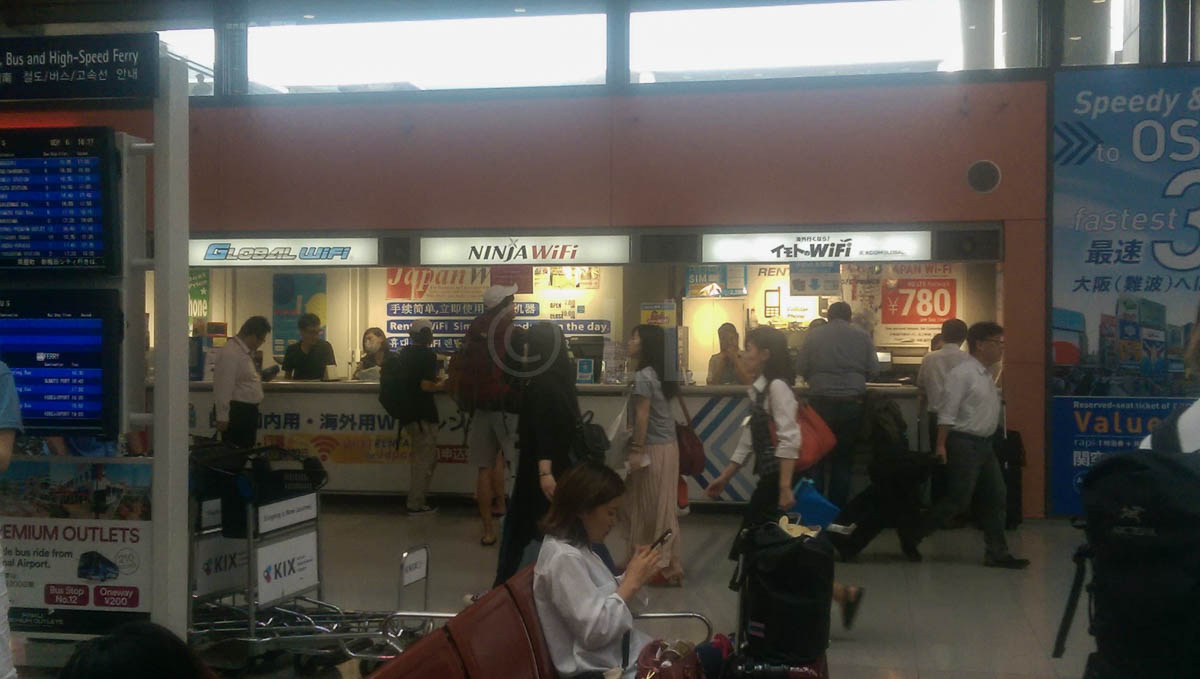
- Free wifi is available across the airport
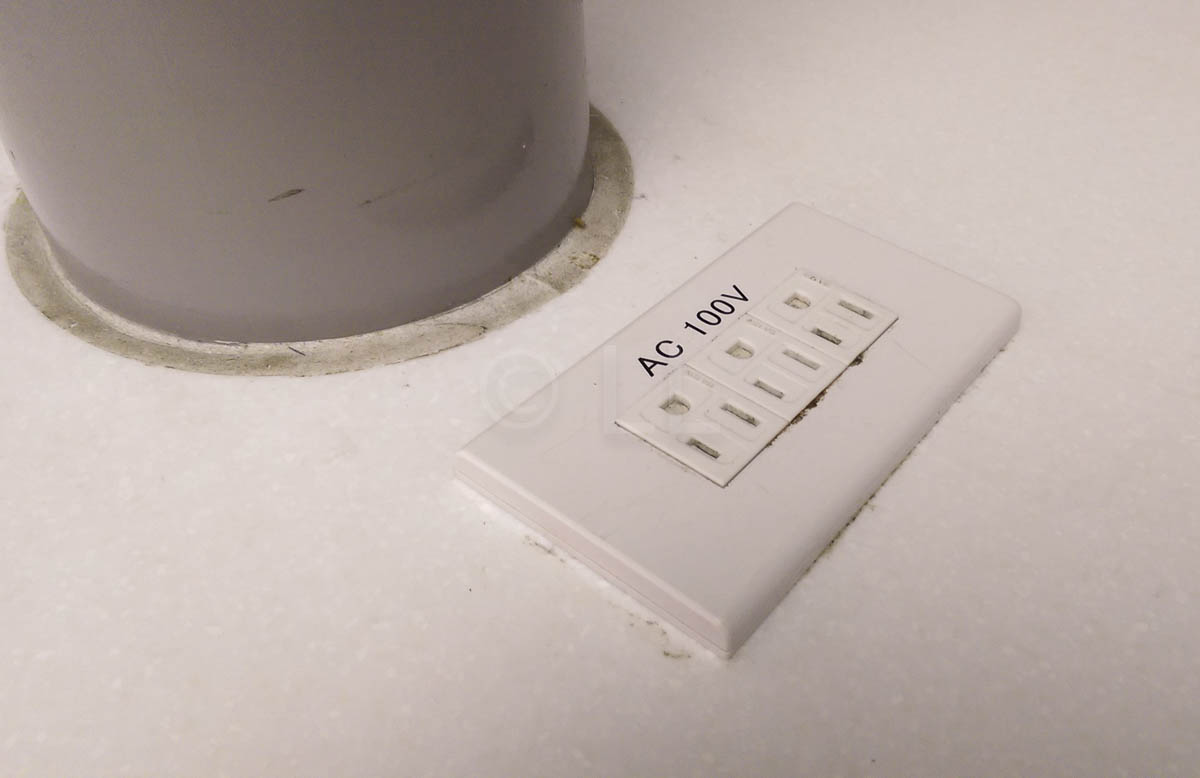
- Charging stations are available, though only 100V power is available.
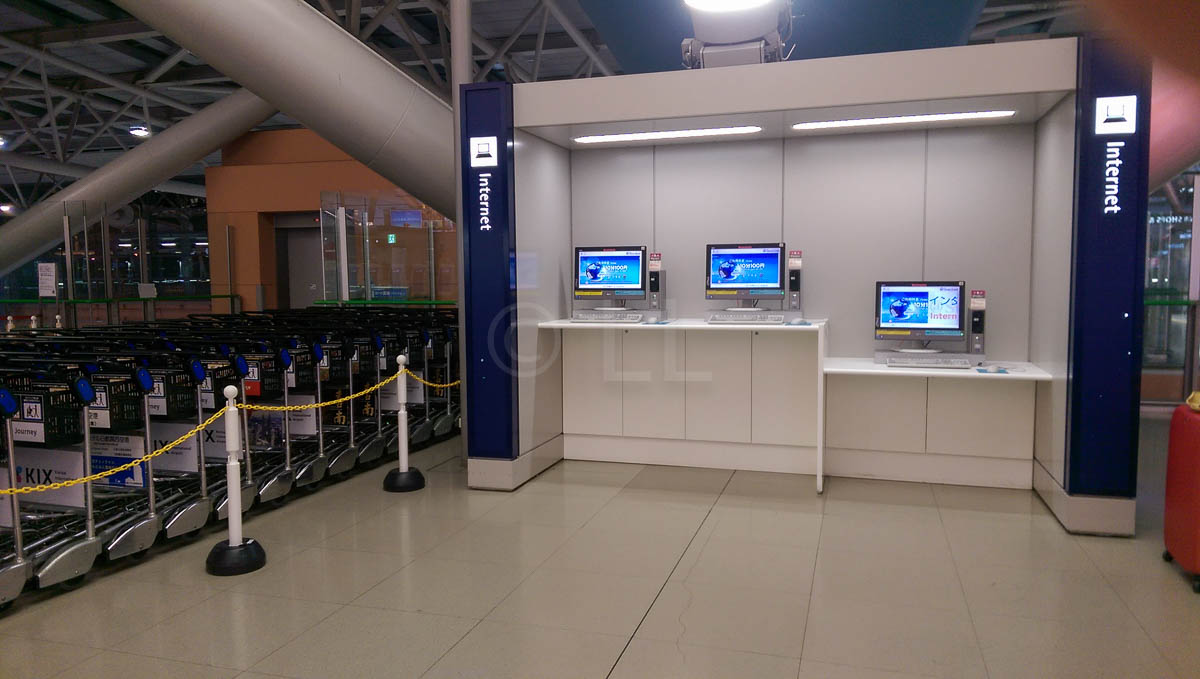
- Free internet is available at desktop computers, some which are wheelchair accessible.
- The airport website also lists other useful services, including a recycled umbrella service and information on the pet hotel!
- AED (Automated External Defibrillator) are widely available across the airport, in fact, in most public places we visited in Kansai.
Kansai International Airport – Airside
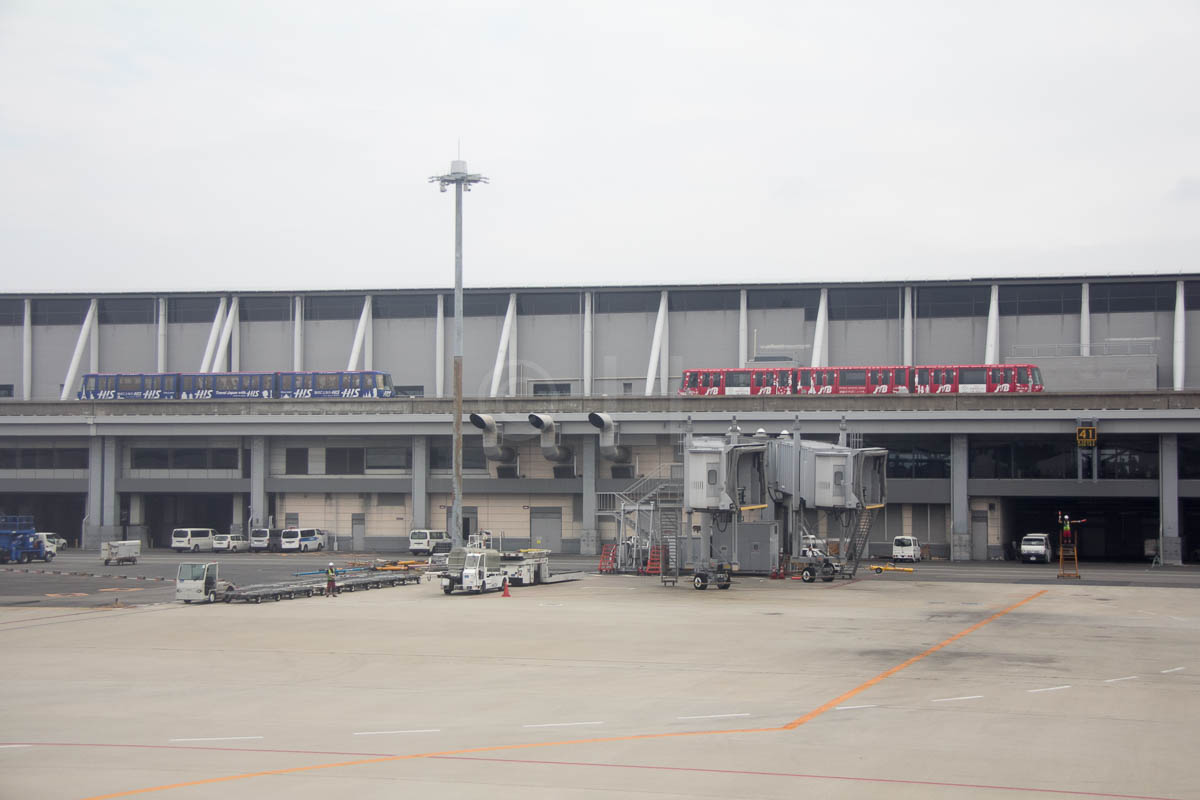
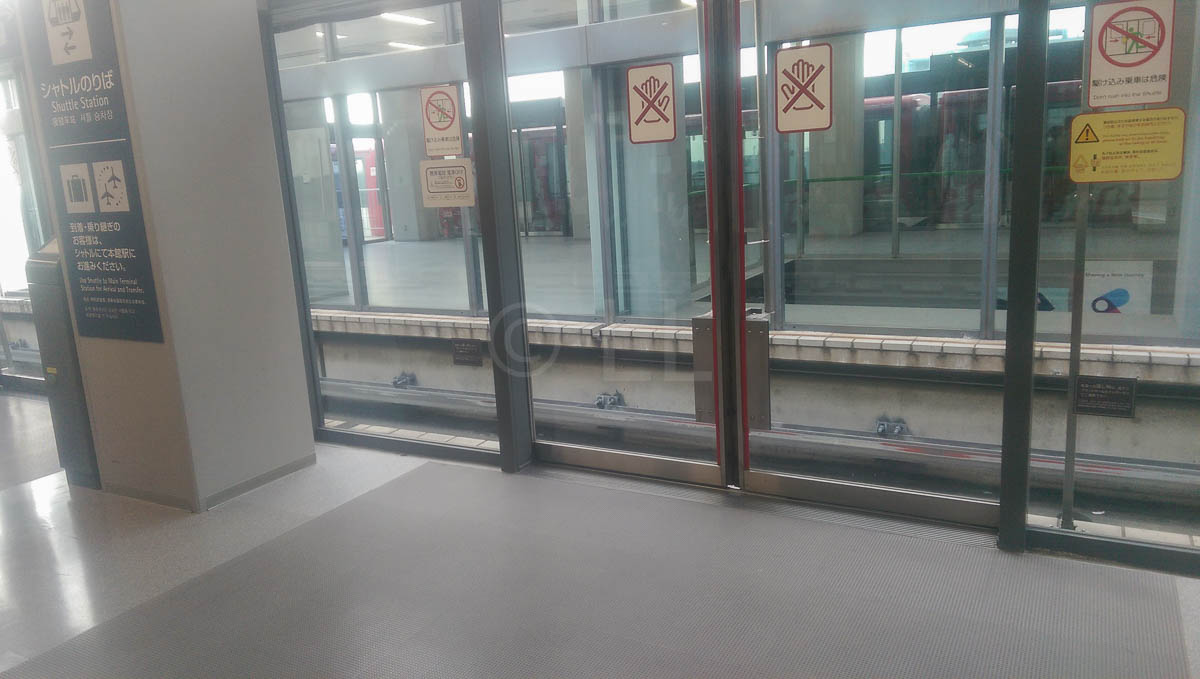
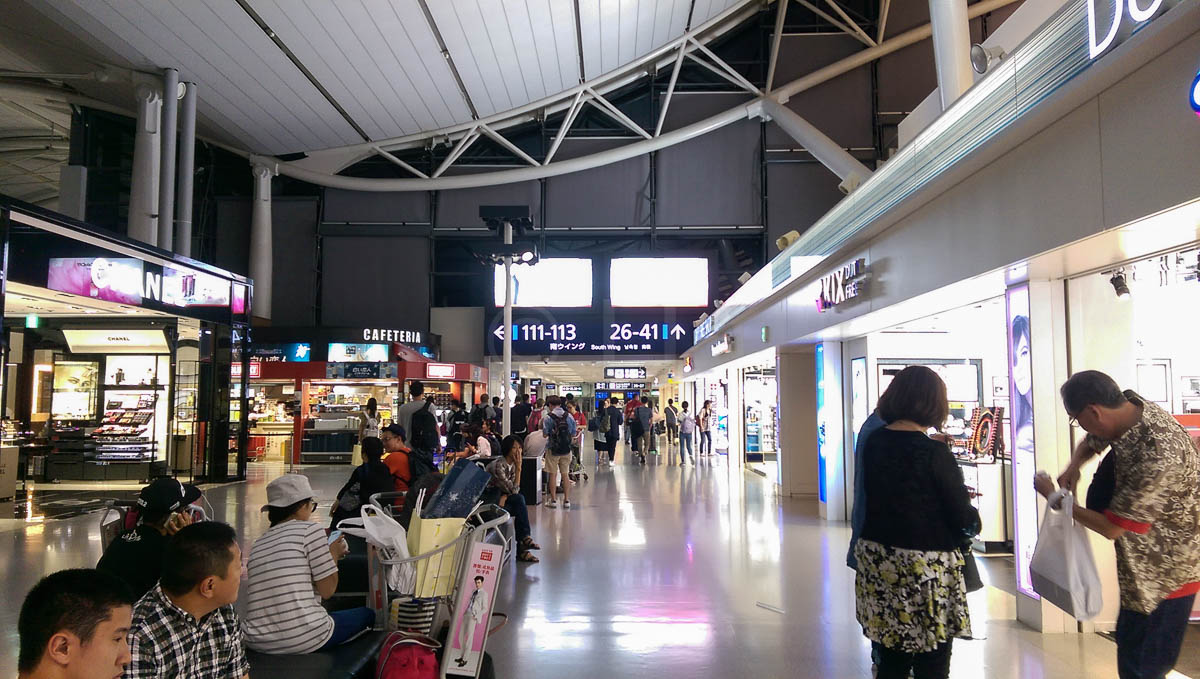
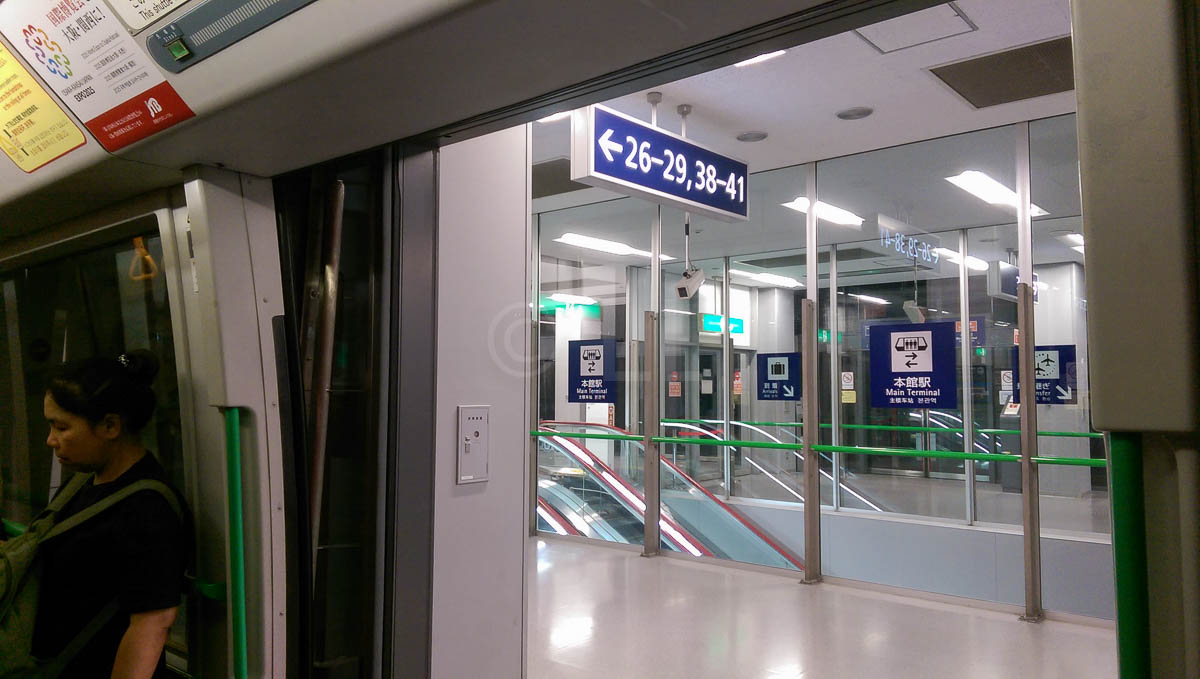
Whether you are arriving or departing, you will use a shuttle to take you between the main terminal and your boarding / arrival gate. The shuttles run every 2-6 minutes and are designated by gate numbers. For example if you’re going to or from a gate between 26 and 41, you are directed to that shuttle station. Arriving and Departing passengers are kept separate, directions are very clear. This speeds your journey through the terminal as there is no way you can get lost!
Arrivals
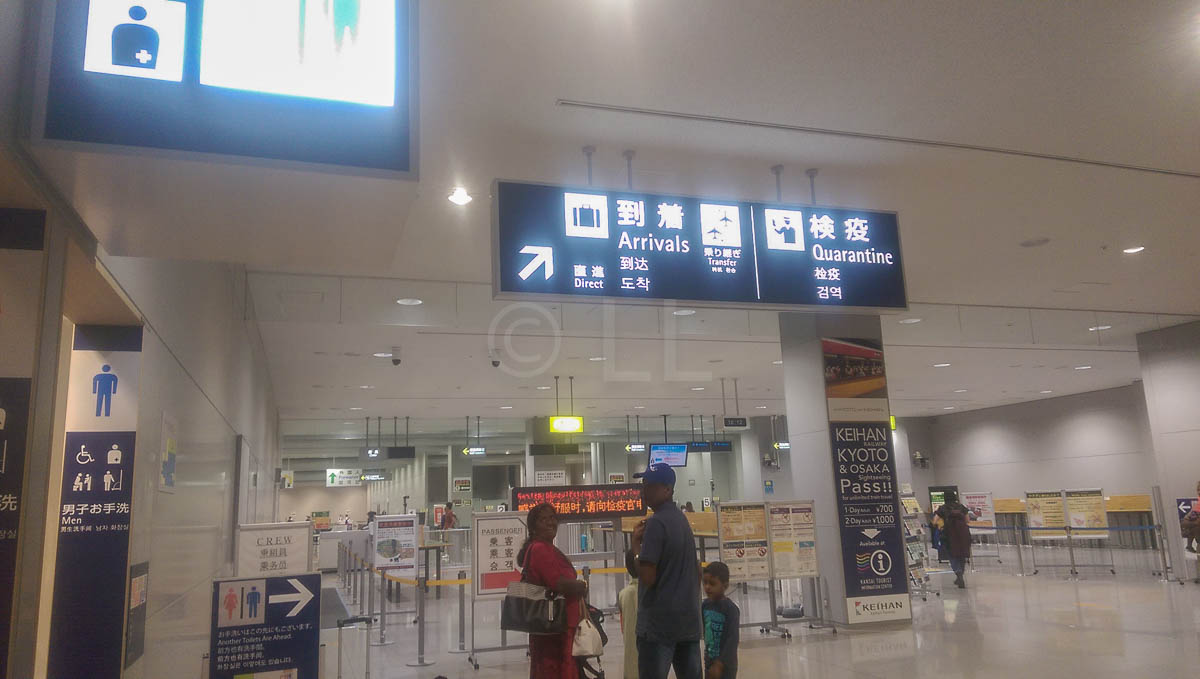
This has to be one of the most efficient and speedy trips through an arrival procedure. Including the time on the shuttle, it took only 20 minutes from disembarkation at Gate 41 to walking through the doors into the Arrivals ‘Welcome’ area. There are two Arrival meeting areas, one each at the North and South ends of the Arrival floor Level 1F.
- We didn’t see any Arrival Duty Free shops, but our baggage arrived just after we got to the carousel, so we didn’t have time to look.
- The signs also direct Transfer / Transit passengers
- Immigration and Customs clearance were speedy and efficient.
- Foreign visitors must complete an Arrival Card, but the process is very speedy.
- You must pass through one of the manned passport scanning machines.
- Photos are not allowed, as is normal, but the airport website is very helpful.

Additional information
If you are travelling via Terminal 2, this information for International & Check-in counters is helpful. Likewise, if your flight is in either late at night, or early in the morning from either terminal, this information will be useful.
Duty Free shops
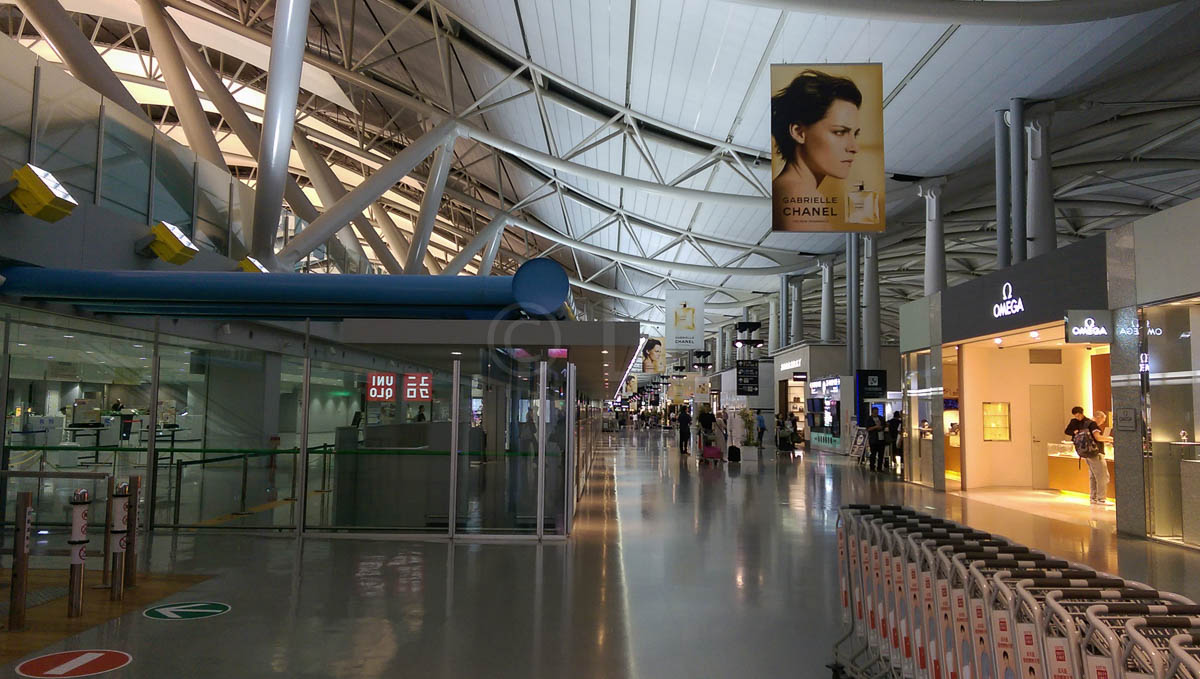

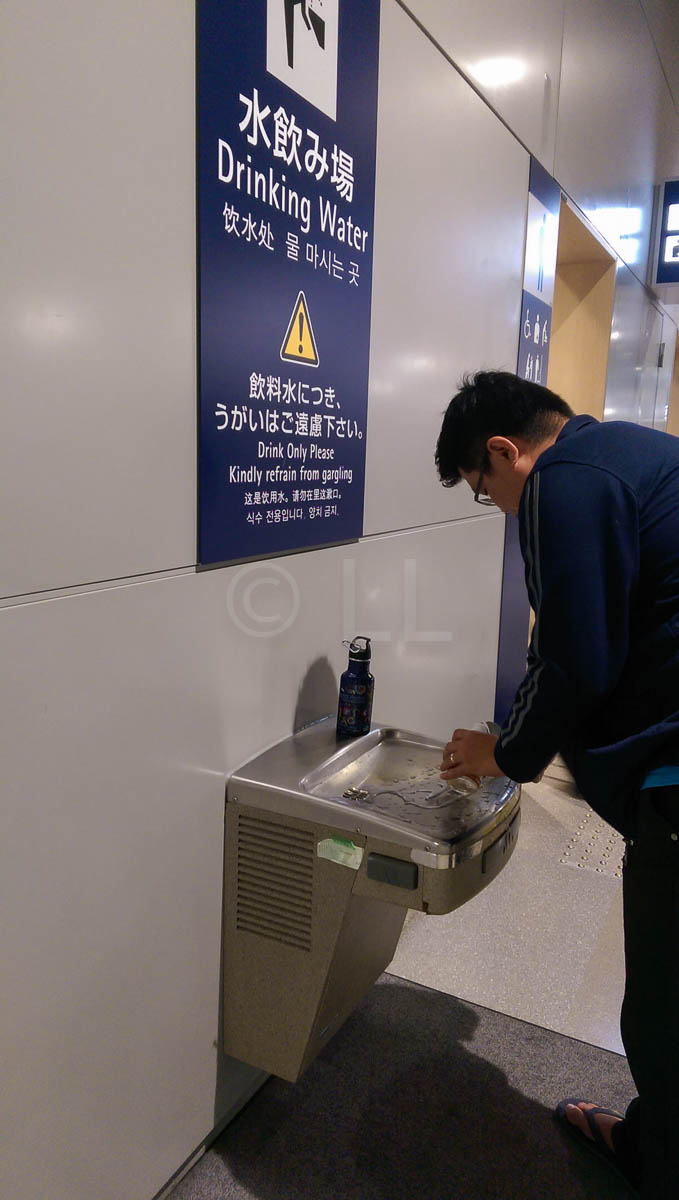
As soon as you exit the immigration controls in the Main Terminal, there are a number of Duty Free shops to help you spend the last of your Yen. This area isn’t that large and doesn’t seem to encourage lingering over a meal or coffee.
Other useful information
AED (Automated External Defibrillator) are widely available across Kansai International Airport. They are also provided in most public places we visited in Kansai.
Pet hotel, meeting points, Dental clinics and meeting points etc maps and information.
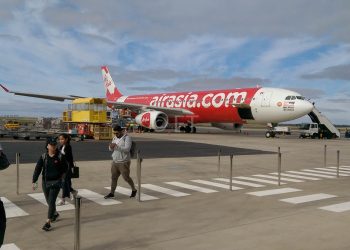
Nearly seventy Airlines from across the globe currently fly to/from Kansai International Airport Osaka.
If it’s your first visit to Japan, here are our ten really useful tips to get you started.
images © LL


This Post Has 0 Comments